
LEGOs were created in Billund, Denmark, in 1932. They promote creativity and encourage you to use your imagination to build different things such as buildings, animals, and even mazes!
In this activity, we’ll be building a LEGO Marble Maze and increasing the level of difficulty with each new design. We’ll start with a simple marble maze and then eventually add curves, tunnels, traps, and dead ends to the track.
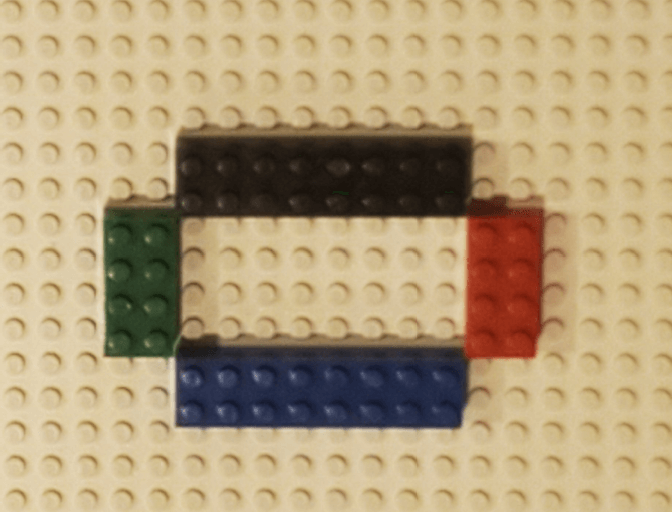
Individual LEGO pieces are called “bricks” and are categorized by “studs,” which are the round parts on the top of a LEGO. The bricks are identified by the number of studs. Above, the red brick is called a 2x4 brick because there are two studs across and four studs down.
There are also “baseplates.” A 16x16 baseplate means there are 16 studs on one side and 16 studs on the other adjacent side. Some baseplates can also be larger or smaller than 16x16 like in the example provided below.

For this challenge, we’re going to build a simple marble maze. Assemble your LEGOS in a random pattern, creating a maze you can move a marble through. Start with a frame around the baseplate. Make sure to leave an “in” and an “out” for the marble to enter and exit the maze, unlike in the example below. (In order to move the marble, you will need to tilt the baseplate slightly in the direction that you want it to move.)
For the second challenge, we’re going to build a marble track that has curves, tunnels, traps, and dead ends. In order to move the marble, you’ll need to tilt the baseplate slightly in the direction that you want it to move. Remember that for the marble to be able to fit through your maze, you’ll need to create a path width of at least two studs.
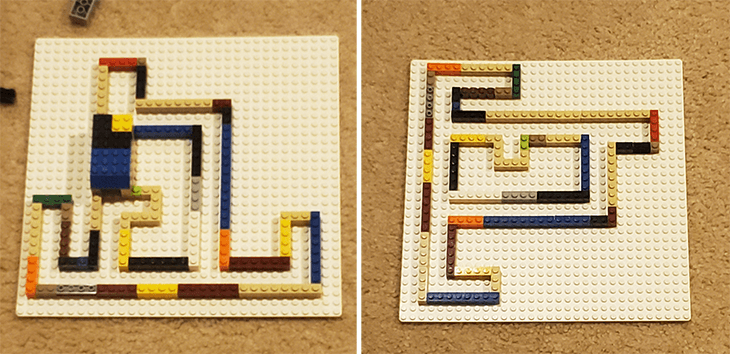
As an extra challenge, create a theme for your maze!
Note: For the marble to fit through a tunnel, the tunnel needs to be at least two LEGO bricks high and wide enough for the marble to fit in between.
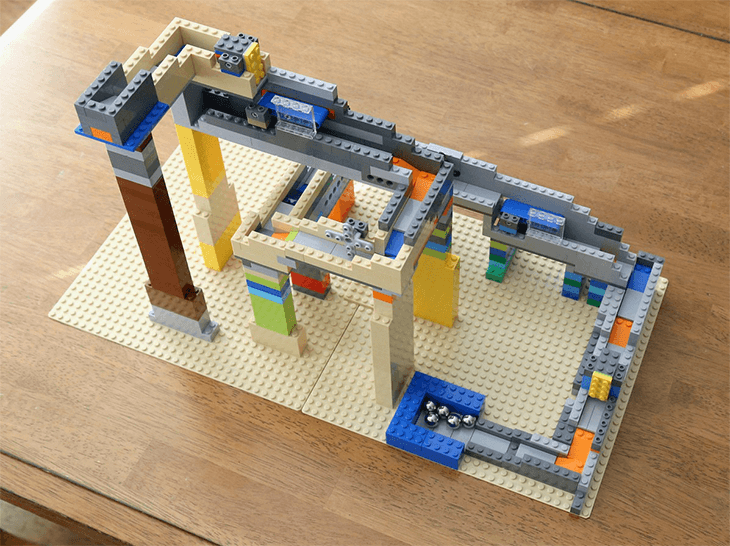
For this advanced challenge, we’ll build a marble track that features elevation changes, jumps, and even switches. You can also try to create a marble track that can have multiple marbles on it at the same time.
As a bonus challenge, try to create your marble maze without a baseplate by using the SNOT (Studs Not On Top) technique. The SNOT technique means that no studs will be visible on the marble course like in the example below.
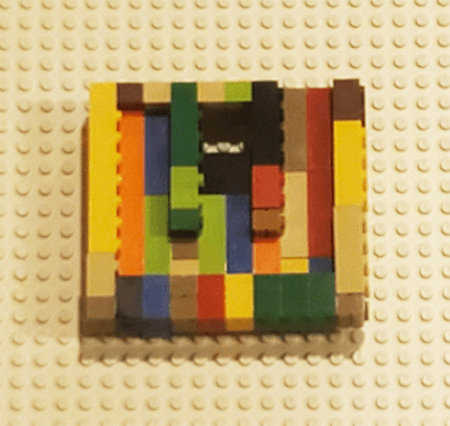
This is an example of a maze built using the SNOT technique. Notice that there are no studs visible on the marble course. In order to move this maze, you will need to tilt it the direction that you want to move it.
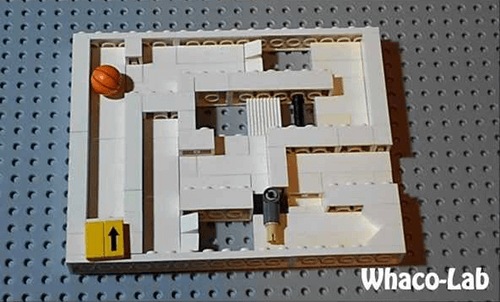 Courtesy WhacoLab
This is an example of a switch. Moving the switch forward will allow the marble to go forward after the jump. If you keep it in place, the marble will be unable to move forward.
The final challenge is to create a motorized marble track that can run by itself. In order for this to work, the movable parts such as the levers will need to be motorized. You can use any of the LEGO motors to do this.

Also, if you want to slow down the speed of the motors, then you will want to use LEGO gears. You will need to string them together in a parallel line for this to work.
Note: This challenge is only meant for people who have experience with LEGO mechanical systems such as Powered Up, Mindstorms, or Boost.
You can watch LEGO builder Josh DaVid’s demonstration of how this GBC module hands the balls off using two spinning arms on his YouTube channel.